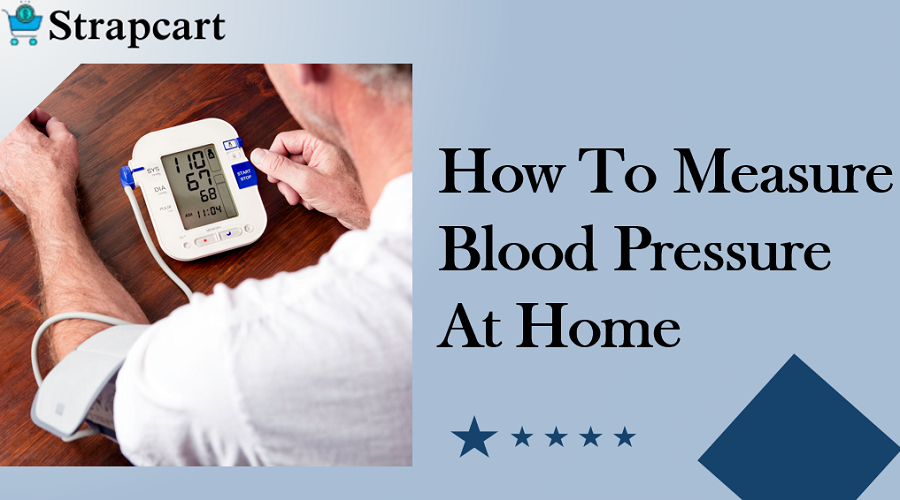
Regular visits to the doctors for blood pressure analysis can be the real pain in the neck.
It’s quite necessary to learn to monitor the pressure of your blood flow if you are suffering from pandemic health conditions like Hypertension and Hypotension.
So, no more long visits to your doctors. You can master the art of monitoring your Blood Pressure and that too at home.
Here’s the spot on the algorithm for measuring it.
Place of practice, preparing the body, and sitting posture
- Identify a peaceful place in your house. A noisy place may increase your blood pressure, and your reading may be affected.
- Ensure that your bladder is empty. You avoid things like smoking, caffeine, cold environments, and exercise before the measuring session.
- Try to stay as calm as possible. Mental instability and stress can tamper the precise reading.
- Sit back and relax on the chair. Align your arm to the heart level and rest it comfortably on the table next to you. The arm above the heart level shows lower blood pressure than expected.
- Unfolding your legs as folded ones can bump up the blood pressure.
Measuring Technique
-
Step 1: Buying and getting used to it
- Buy your blood pressure checker (analog or digital).
- Skim through the patient information leaflet carefully.
-
Step 2: Locating the pulse
- Use a stethoscope to locate your pulse.
- Set up its ear prongs in such a way that it faces forward and not backward.
- Make sure that your stethoscope is working. Twist the Calibrated manometer gauge and tap it with your finger. When you hear the tapping noise through your prongs, your device is in working condition.
- Try to locate the pulse on the brachial artery in the cubital fossa (area opposite to the elbow region and below the bicep muscle).
-
Step 3: Draping the cuff
- Wrap up the velcro cuff around the arm— in the pulse-identified area.
- Keep it comfortable and snug but not extremely tight. Drape it in such a manner that it sticks to the arm without jiggling around.
- Place the head of the stethoscope in the lower region of the cuff (over the pulse).
-
Step 4: Pumping and flattening the pump
- Before pumping air into the inflation bulb, tighten the air within. A loose nut prevents air from reaching the cuff.
- Press the inflation bulb and see to it that the blown cuff pressurizes the arm and you hear the pulse in your stethoscope
- Keep a close look at the gauge and blow the pump till the gauge reads above 200 mm/Hg.
- Start releasing the air by opening the air out slowly.
- Pay concentration and listen to the thumping sound from the dial. It’s due to the bouncing up and down of the pointer at a particular reading.
- Note that reading immediately. The normal pressure thumping should start at around 120 mm/Hg. It denotes the highest pressure meaning the heart has contracted (Systolic blood pressure).
- Jot down the last thumping sound. That’s diastolic blood pressure. In the last sound, the blood pressure is lowest, and the heart is relaxed. It’s when the heart is marching towards another refilling.
Practice for precise reading
- Keep your arm straight.
- Don’t deflate the cuff immediately. Blood pressure is mostly determined by the pace of deflation.
- If you fail to record the analysis, don’t hasten. Relax for a minute or two and restart by inflating the cuff slowly.
-
Step 5: Bringing the record to your doctor’s notice
- Check the blood pressure as per your doctor’s instructions.
- Note down all the records and time along with the relevant comments like the meal and other environmental variables that could affect your pressure.
- Get your equipment evaluated by the experts or doctor.
Monitoring blood pressure gives you an obvious advantage in keeping up-to-date with health conditions. Based on your pressure reading, you can use medical assistance like Telmisartan to cure blood pressure on time.


